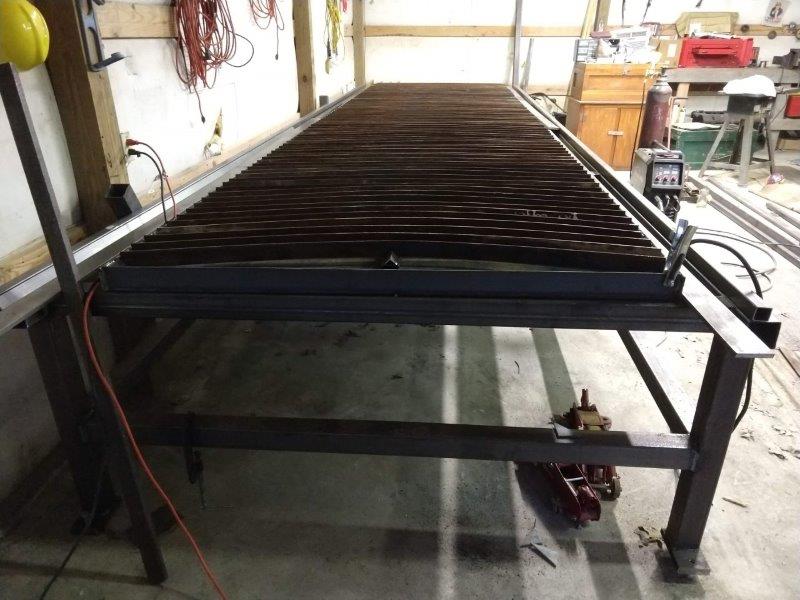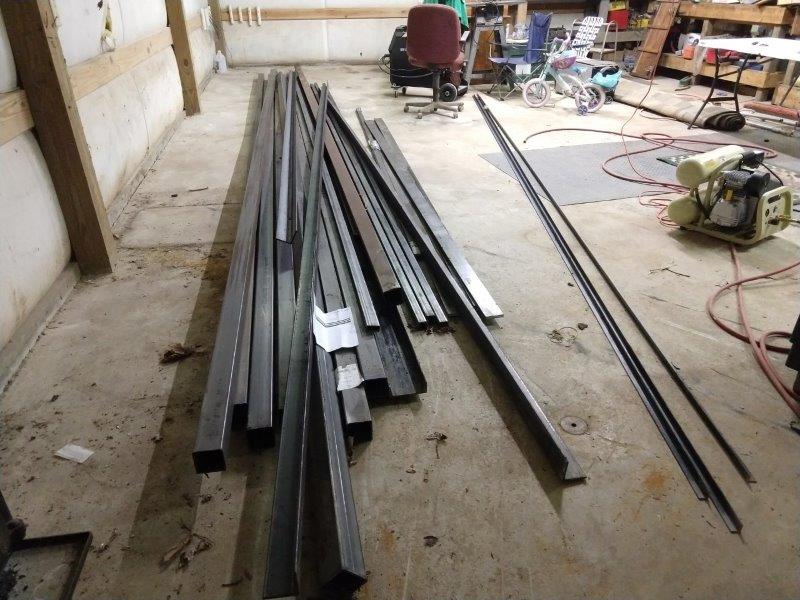
Plasma Build. Phase 1
First off a plasma table is CNC driven cutting tool (for this example) about 98% of the time. What is a plasma table you ask? It is basically a computer driven metal cutting tool that can cut shapes, signs, almost whatever you want to create out of metal.
The reason I have chose this as my next latest and greatest project is due to how much I like a challenge and how much I really want to create some things for around the house and to sell.
Why build vs buy? – So for me its simple. COST…. Yes, I know that for what I am building a 5X20ft table cost is outrageous if I were to have it delivered to my front door. But, if you were to get a 4×8, 5×10 you can absolutely get a table that costs less than for what I am building. If you were to get a production environment plasma table you are looking at a minimum 15K+ machine. Their are used machines out there but like in anything used you have to be very careful at what you are getting.
Whenever I say machine it means just that, a machine. So to break that down further you are looking at getting a table that is either down draft or waterbed, a gantry and an electronics package.
So to get everyone up to speed I started working on this around December 2018. What I will do is save up money and spend it and do that over and over.
Side note. I am going to be transparent on cost. Whenever I say that it does NOT include my time.
Tools I am going to be using as well.
- Welder is a Eastwood 250i with 75/25 gas at .035 wire.
- Milwaukee metal carbide cutting saw
- DeWalt abrasive cut off saw
- Grinders….goodness….Dewalt as well
- Various drill bits/taps
- C clamps
The elements of this build are as follows.
- Phase 1 – Building the table
- Phase 2 – Precision Plasma Gantry from this guy –> http://precisionplasmallc.com/
- Phase 3 – Air compressor and air drier. Hope to get a Quincy.
- Phase 4 – Hypertherm 85 with 50ft machine torch.
- Phase 5 -Electronics package through Sparks Robotics
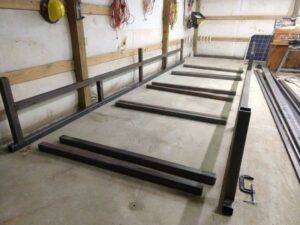
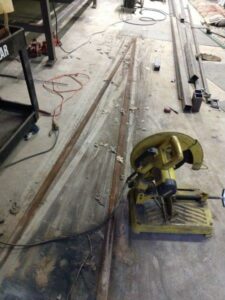
This is all of the metal cut to length. I did not purchase all of this cut either (as you see from the image above). I swear that was the longest few days cutting this all up. I honestly wish I could of afforded to have it all cut to length. Some of the stock comes in 24ft sticks some of them come in 20ft. some sadly come only in 12 ft which I will go into later on. Almost everything is about 1/8 on steel thickness which is nice but the bottom of the water pan is 16ga which was a nightmare. I am just a self taught welder as well….no certifications held here.
Lessons learned as well. As much as I love the cut off Milwaukee carbide saw it proved to really give me a run for my money. I could not for the life of me get a straight up. So I purposefully laid these all down in this photo to ensure they were all even with each other. As mad as I was I only found a few that were in need of some love and attention.
Why didn’t I just use the DeWalt cut off saw you ask? Cause it was walking on me. I went to cut some 1 inch (yes 1 inch) material with it and it would walk and walk with me. Blew me away it just kept doing it. Then it wouldn’t restart… Took out the contactors as well and brushed them up with some 400 grit to get them right again and fixed the spring in the head of the saw… It works well if I am not cutting anything HUGE.
Alright lets get to welding.
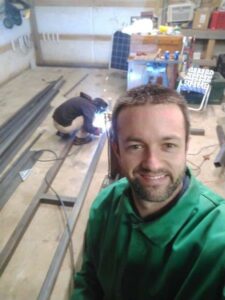
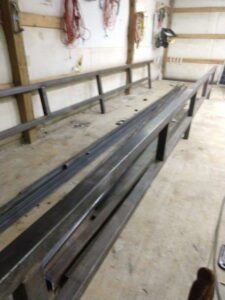
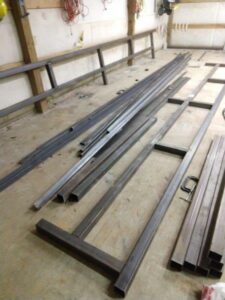
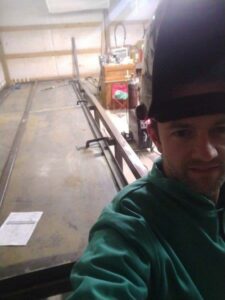
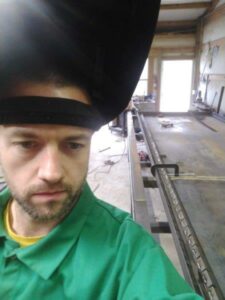
So here in the photo is a friend who came over who wanted to weld a little.
Then for some fun I took a selfie with him working.
The 3rd and 4th photo you see there are the side rails going up. Which then it was pointed out that the rails are slightly bent due to the floor in the shop not being level at all. So that was nice to discover. Kind of a pain to fix but none the less I made some great progress on this. I mainly used a very large 12 inch square to keep everything square with its self. Not to mention I measured 10 times and cut once on this entire project.
On to getting this monster setup.
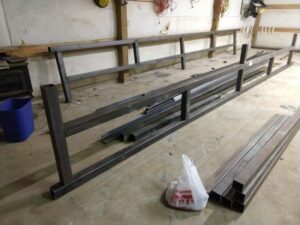
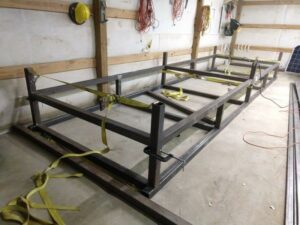
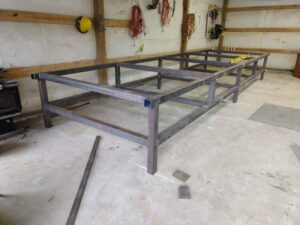
Once again this pushed me to a crazy extent. Once it was made square and measuring 50 more times I finally got it setup to weld. these ratchet straps really helped keep evertything together and the C clamps kept the metal from falling.
Flipping this over was dangerous….like for real no joke dangerous. I did not get a photo or video of me doing this but I promise it was stupid and difficult. Used the front end loaded on my tractor to pic it up and set it down and a very strong friend also came over. He wanted some free fire wood and I wanted some free help.
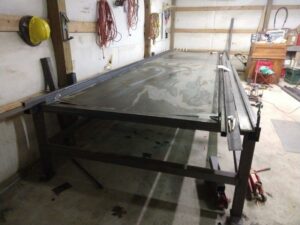
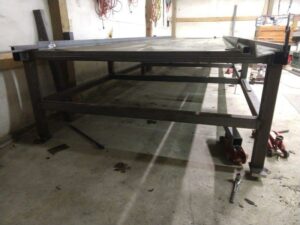
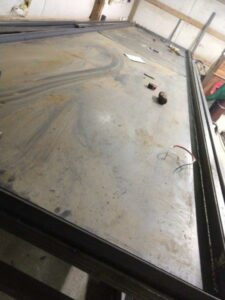
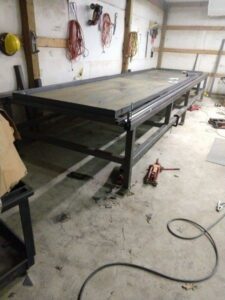
Here it is starting to come together a little more. This is 1/4 3×3 angle iron with 2 5×10 sheets butted up to each other. I absolutely hate 16ga sheet metal. This was by far the most painful thing I have had to work with. Not only was it a pain in the butt but it was sooooo hard to weld (for me that is). Also had to weld a 1/8 flat piece to the bottom where the 2 5x10s butt up to each other due to the gap and not wanting to weld it directly to the frame.
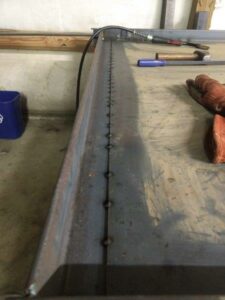
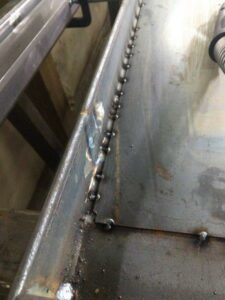
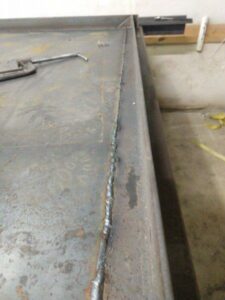
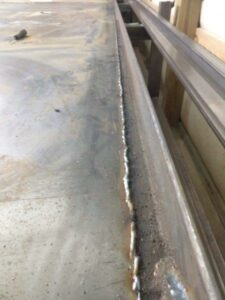
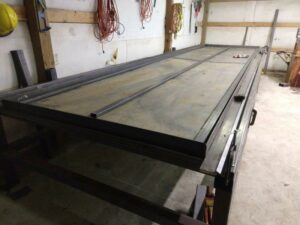
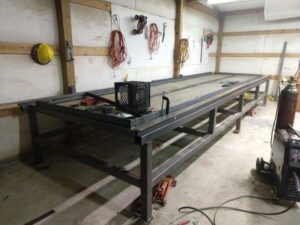
I am getting verryyyy tired of welding by this time. I mean…its wearing me out. Every post I have read about building a water bed is that they just suck. And they are correct. Some crap welds in there with some good ones. Not fun here people…not fun….
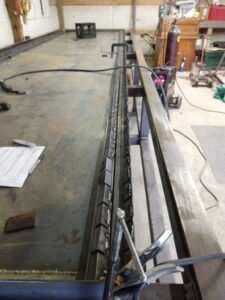
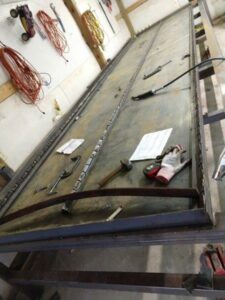
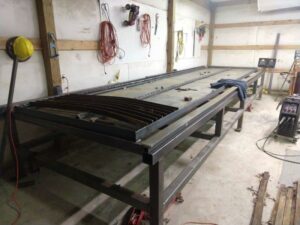
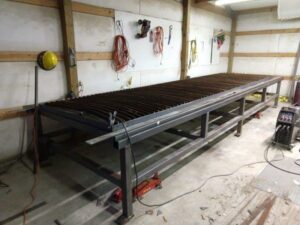
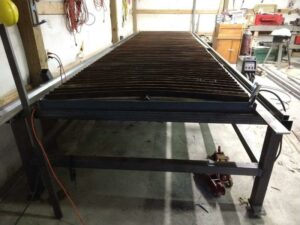
Alright…its not leaking finally.. Yes that was fun after about 60ft of welding I had some leaks. Something I didnt photo as well was the little pieces that had to be welded on. Running around an inch and change. These little monsters were quite difficult. The slats were left overs from a steel yard that were nabbed for a really good price.
I thought it would be nice of me to throw in the photo of the cut off saw back in operation.
Phase 1 – Complete
Cost – Steel alone – 3142.44 + consumables (new carbide blade+more clamps)=3242.44

